
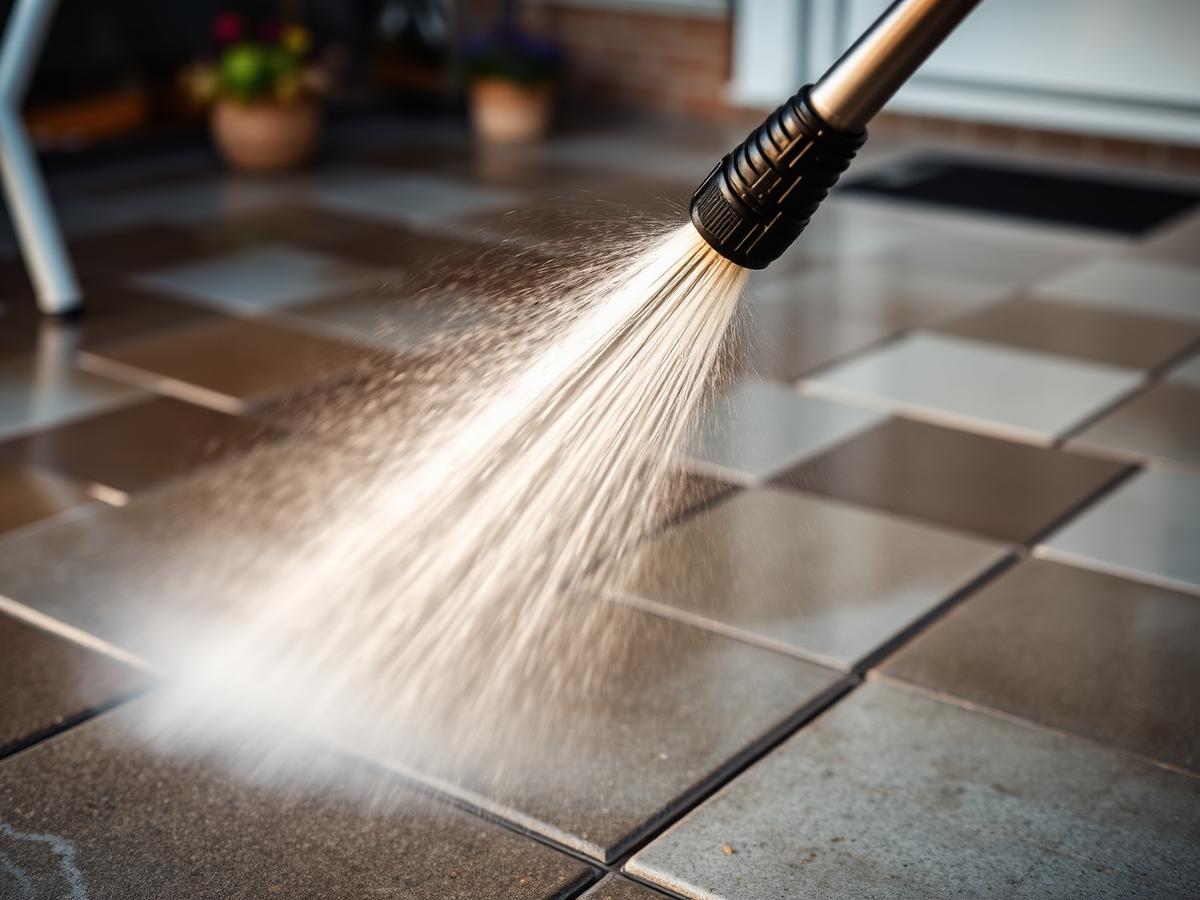
Block paving works because of interlock: every block braces against its neighbours through sand-filled joints. Take the sand out and the blocks start to move, rock underfoot and open gaps that weeds colonise.
Cleaning inevitably removes joint sand. That's why re-sanding isn't an upsell — it's the second half of the same job.
What actually happens during re-sanding
- The surface is cleaned and the old, contaminated joint sand is extracted.
- The paving is left to dry — kiln-dried sand will not run into a wet joint.
- Sand is brushed across the surface in passes, working it into every joint.
- A vibrating plate or repeated brushing settles the sand and the joints are topped up until full.
- Excess is swept off so no sand haze is left sitting on the block faces.
Kiln-dried sand vs polymeric sand
Kiln-dried sand is the standard: cheap, easy to top up, and it lets the joint breathe and drain. It will need topping up over time, particularly on a drive that gets pressure-washed regularly.
Polymeric sand binds when wetted and resists weeds and washout for longer. It costs more, it's less forgiving to install, and it must be fully removed before re-application. It suits drives where the joints keep washing out on a slope, or where weeds are a constant battle.
Lifted and sunken blocks
If a block rocks or sits low, cleaning alone won't fix it — the bedding layer underneath has moved. We re-set sunken and lifted blocks at the same visit where the cause is local settlement rather than a wider sub-base failure.
Where the sub-base itself has failed, we'll tell you plainly. Re-laying a section properly is a groundwork job, and re-sanding over it would just hide the problem for a season.