
Sealing is unusual among exterior jobs in that the application itself is the easy part. The difficult, decisive work happens beforehand, and it is mostly about patience: getting the surface genuinely clean, genuinely dry and genuinely stable before you lock a film over the top of it.
This checklist is the sequence we work through on site. Every item on it exists because skipping it causes a specific, recognisable failure — blooming, peeling, patchiness, trapped growth or a sealed-in defect.
Stage one: get it properly clean
- Remove all organic growth with a biocide and a full dwell period — dead roots left in the joints will push a coating off later.
- Degrease any oil, fuel or grease marks specifically; sealer will not adhere over hydrocarbons.
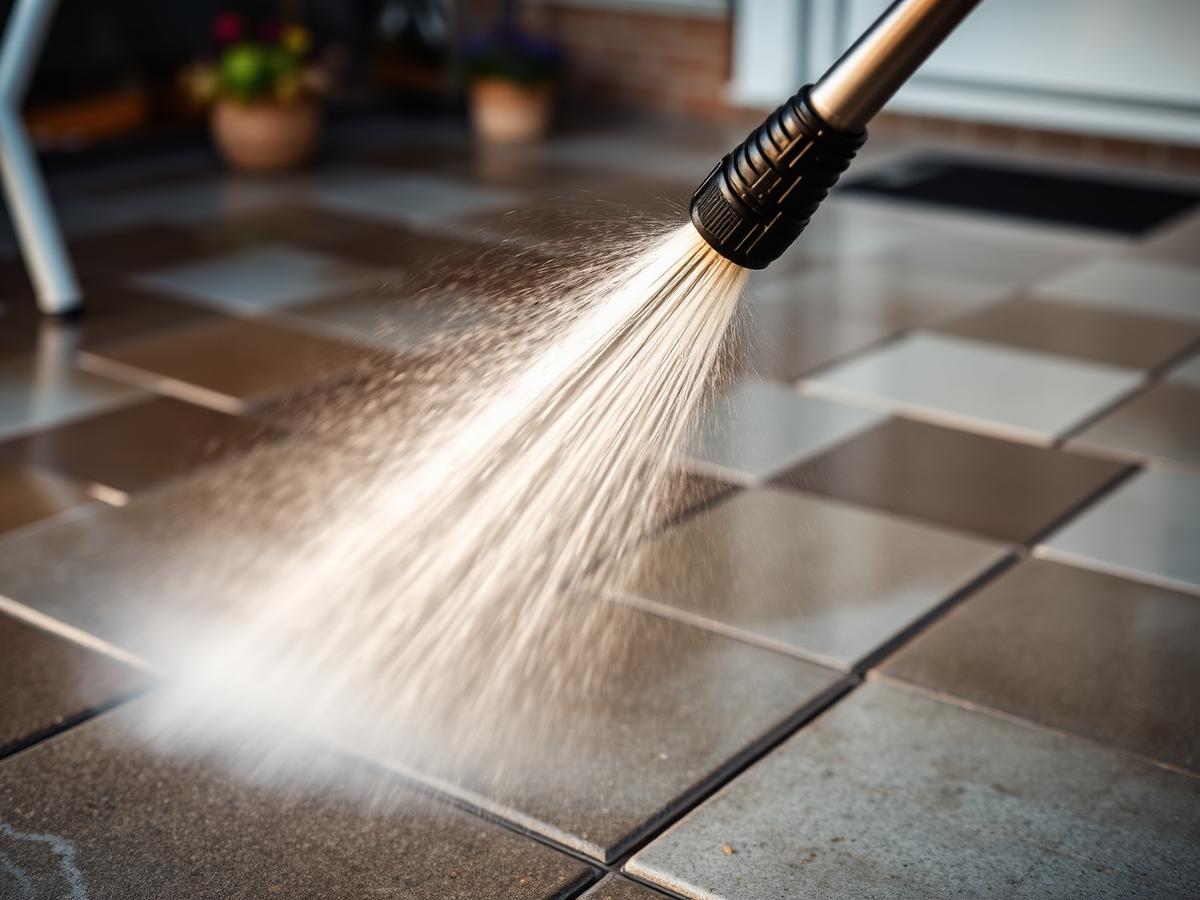
- Wash the whole surface evenly, using a rotary head on the open field so there is no striping to lock in.
- Rinse until the run-off is clear, then rinse again — dried slurry becomes a grey film under the sealer.
- Remove any efflorescence and check whether it returns before sealing over it.
- Weed out joints completely, root and all, rather than cutting off top growth.
Stage two: make repairs first
Anything you seal over becomes permanent, or at least awkward to undo. Rocking blocks, sunken areas, failed pointing, cracked slabs and crumbling edge restraint should all be addressed before sealing, not afterwards.
This is also the moment to deal with drainage. Sealing a surface that ponds means water will sit on the coating, and standing water is what wears a sealer out fastest. If a low spot needs lifting and relaying, do it now — it will never be cheaper or more convenient than at this point.
Where blocks have been replaced, be aware that new blocks and weathered blocks take sealer differently and will look slightly different afterwards. Better to know that in advance than to discover it on the day.
Stage three: joints must be right
- Re-sand block paving fully with kiln-dried sand, in several diagonal passes.
- Let traffic settle the sand for several days, then top up — joints always drop.
- Ensure the sand is dry all the way down, not just dry on top.
- On pointed patios, allow new mortar or jointing compound to cure fully to the manufacturer's timescale.
- Brush the surface clean of all loose sand before sealing; loose grains stuck in the film look terrible.
- Check joint height — sand slightly below the chamfer, not overfilled onto the block face.
Stage four: drying, and how to be sure
This is where most jobs go wrong. A surface can look dry on top while the block, the joint sand and the bedding layer beneath are still saturated. Sealing over that traps moisture, which then tries to escape through the film and produces a milky white bloom.
Allow days, not hours, after cleaning. In British weather that usually means a run of dry, breezy conditions rather than a single sunny afternoon. Shaded sections and areas next to walls dry much more slowly than the open middle.
A simple check: tape a square of clear plastic sheet tightly to the surface and leave it for a few hours. If condensation forms underneath, moisture is still coming out and the surface is not ready. Do this in the slowest-drying area, not the sunniest one.
Stage five: weather and timing
- You need a dry window that covers application plus the full cure time stated for the product, not just the application itself.
- Avoid sealing in blazing direct sun; the coating skins over before it can penetrate and lap marks become obvious.
- Avoid cold conditions, which slow or prevent proper curing, and avoid anything approaching frost.
- Avoid high humidity and heavy dew, which affect the finish on water-based products in particular.
- Plan around vehicle access — the drive needs to stay clear for the full cure period.
- Have a contingency plan if rain arrives mid-application; know where you can stop at a natural break line.
Stage six: masking and protection
Sealer marks anything it lands on and it is very difficult to remove from brickwork, render, painted surfaces and garage floors once cured. Mask kerbs, walls, thresholds, gulley surrounds, lighting and any adjacent surface within splash range.
Protect planting along borders. Both solvent and water-based products can scorch foliage, and a run-off channel into a bed will do visible damage.
Plan the route out. Sealing yourself into a corner is a genuine and surprisingly common mistake — decide where you will finish and how you will get off the surface before you start.
Stage seven: test before you commit
- Apply the product to a discreet test area and look at it dry, in daylight, from standing height.
- Confirm the finish level — matt, satin or gloss — is what you actually expected.
- Check adhesion if there is any existing coating present.
- Check absorption rate so you can plan realistic coverage per litre; porous surfaces drink far more than the tin suggests.
- Check grip on any steps or slopes, and add a grip additive if needed.
- Only once all of that is satisfactory should the main application start.