
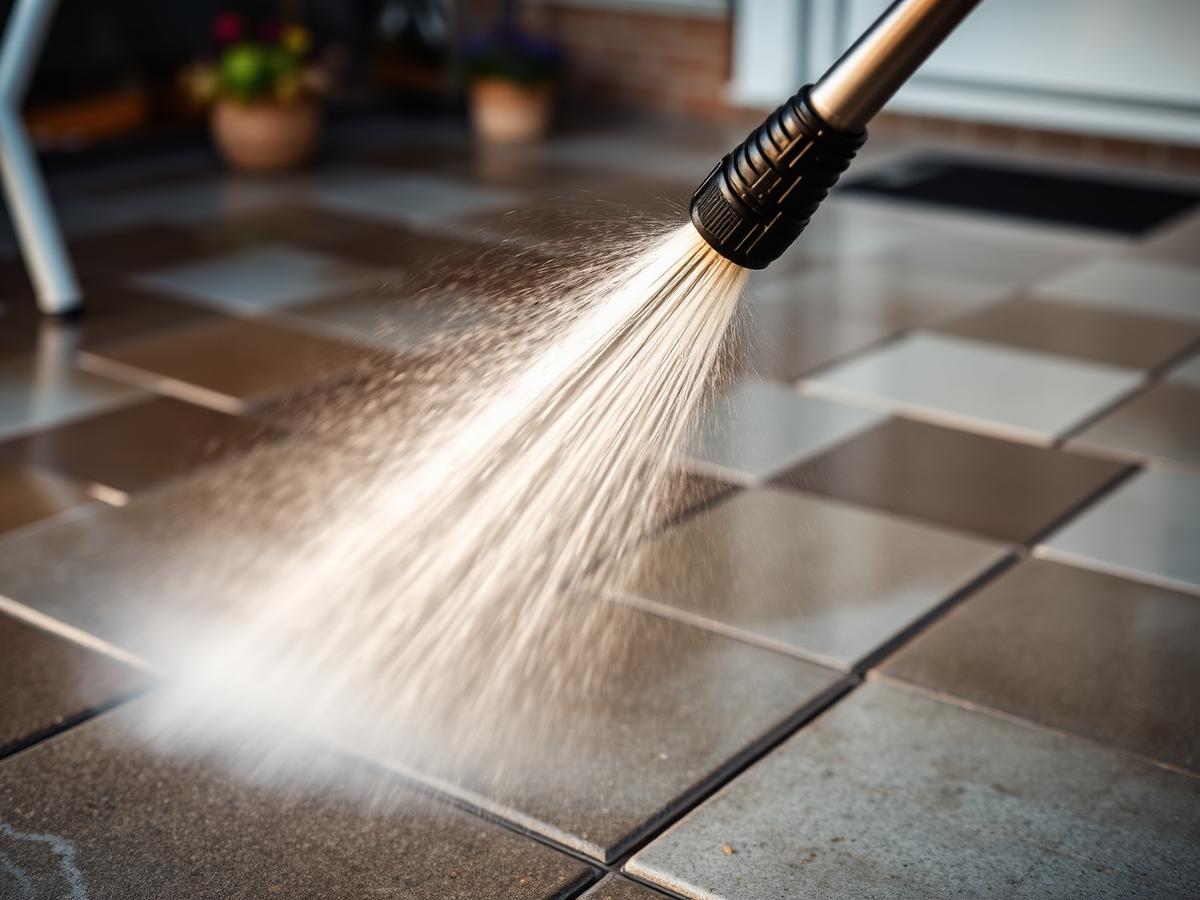
A patio clean goes wrong in predictable ways: the wrong tool on soft stone, no dwell time so the growth comes straight back, pointing washed out and never replaced, or half the slabs done in bright sun and the other half in shade so they dry to two different colours.
This is the sequence we follow on a working job, adapted so you can follow it yourself on a domestic patio. Read it through before you start — several of the decisions have to be made before the first drop of water hits the ground.
Step one: identify the material honestly
Everything downstream depends on this. Indian sandstone is soft and layered and will delaminate under excessive pressure. Porcelain is dense and effectively non-porous, so it cleans easily but shows every streak. Limestone is soft and reacts badly to acids. Concrete flags are tough but can have a thin decorative surface layer. Old York stone is usually strong but often laid on lime mortar that is much softer than the stone.
If you are not sure, test in an inconspicuous corner and look closely at the result while it is still wet and again once fully dry. Wet stone hides a multitude of damage.
Step two: clear and protect
- Move furniture, pots, barbecues and anything with metal feet that will rust-mark the surface.
- Sweep off loose debris thoroughly — washing dry leaf litter across a patio just smears it into the pores.
- Cover nearby planting you care about, or at least wet the foliage down first so it is less inclined to absorb run-off.
- Check where run-off will go, and dam or divert it away from lawns and borders if it will carry silt.
- Close windows and doors on that elevation, and cover any low-level vents or light fittings.
- Pull the worst of the established weeds by hand now, root and all, rather than trying to wash them out later.
Step three: treat and let it dwell
Apply a biocide across the whole surface, including the areas that only look mildly affected — patchy treatment gives you a patchy result. Cover the joints and the shaded edges especially, since that is where the deepest growth lives.
Then leave it. Dwell time is what kills the organism rather than simply removing its visible body. Depending on the product this can be anything from a good long soak to leaving it in place for days before washing. Follow the label rather than your patience.
This step is the single biggest determinant of how long the clean lasts. A washed patio looks clean; a treated and washed patio stays clean.
Step four: wash, using the right tool for each zone
- Open field of flags: a rotary flat-surface cleaner, moving at a steady walking pace with roughly half-width overlap on each pass.
- Edges, steps, risers and around drainage: a lance with a wide fan, kept moving, never held static.
- Pointed joints: work along them gently and accept that some loss is inevitable — plan to re-point rather than fighting to save failing mortar.
- Soft stone: reduce pressure noticeably and lean on the chemistry and a second pass instead of force.
- Porcelain: minimal pressure is needed; the challenge is even rinsing, not cleaning power.
- Work in whole runs across the patio rather than slab by slab, so there are no dry-line seams.
Step five: rinse thoroughly, then rinse again
Most disappointing results come from inadequate rinsing. The wash lifts a fine slurry of dead organic matter and detritus, and if that dries on the surface it settles back into the pores as a grey film. The patio looks superb while wet and dull the following morning.
Rinse in the direction of the fall, working the slurry consistently towards the drainage point rather than chasing it around. Then walk the whole area and check for pooled slurry sitting in low spots or against a step riser, and clear those individually.
Step six: re-point or re-sand
A patio clean is not finished until the joints are made good. On a sand-jointed patio, re-sand once everything is dry, brushing diagonally in light passes. On a mortar-pointed patio, rake out any pointing that has failed and re-point with an appropriate mortar or a proprietary jointing compound.
It is tempting to skip this because the patio already looks transformed. Open joints let water into the bedding layer, which is how flags start to rock and how the next crop of weeds gets established. The jointing is doing structural work.
Step seven: aftercare and the sealing decision
- Let the surface dry fully — days rather than hours in most British weather — before deciding anything about sealing.
- If you do seal, do it on a dry, settled surface with dry joints and a clear forecast.
- Keep furniture off until the surface and joints are properly dry so you do not press debris back in.
- Sweep regularly, particularly through autumn leaf fall.
- Deal with any low spot that ponds; it will always be the first place growth returns.
Common mistakes worth avoiding
Cleaning in bright direct sun means the treatment dries before it can work and the surface dries in blotches. An overcast, still day is the best patio cleaning weather there is.
Using an acid-based cleaner on limestone or on cementitious pointing will etch what it touches. Acids have a narrow legitimate use, mostly around specific mineral staining, and they are not general-purpose patio cleaners.
Cleaning only the dirty half leaves a visible tidemark for the rest of the year. Do the whole area, every time.