
Polymeric sand is graded sand with a binding agent mixed through it. Once it is swept into the joints and activated with water, the binder sets and turns loose sand into a firm, slightly flexible joint that resists washout, discourages weed germination and stays where you put it.
It is a good product used correctly and a persistent headache used carelessly. Almost every complaint about polymeric sand traces back to one of three things: it was installed into damp joints, it was not cleared fully off the surface before watering, or it was watered wrongly. This guide covers how to avoid all three.
What it does differently to kiln-dried sand
- It sets into a cohesive joint rather than staying loose, so heavy rain and jet washing do not excavate it.
- It resists ant activity and burrowing insects that otherwise undermine loose sand joints.
- It gives weed seed a far poorer footing, because there is no loose granular bed to root into.
- It remains slightly flexible, so it tolerates the small movements a paved surface makes.
- It costs considerably more per square metre than kiln-dried sand, and it is much less forgiving to install.
Where it belongs — and where it does not
It suits block paving driveways with joints of a consistent, appropriate width, patios that keep losing sand to weather, and any surface where you are tired of re-sanding every season. It is particularly worthwhile on sloping drives, where plain sand washes downhill every time it rains.
It is a poor choice for permeable paving systems, where the whole point is that water drains through the joints. Filling those joints with a binding product defeats the drainage design and can cause ponding. Permeable systems have their own specified jointing grit — use that.
It is also unsuitable for very narrow joints that the sand cannot penetrate to full depth, and for joints that are still wet or that sit over a bedding layer that is holding water. In both cases the product cannot cure as intended.
Preparation: the part that decides the outcome
- The paving must be clean and, crucially, bone dry — surface and joints alike. Give it several dry days after any washing.
- Remove old jointing material to a consistent depth, typically most of the joint rather than a token scrape at the top.
- Check the forecast properly. You need a dry window during installation and no rain until the joint has set.
- Do not attempt it in freezing conditions or in blazing midday sun; both interfere with the cure.
- Have the right kit ready: a soft-bristled broom, a leaf blower, and a hose with a genuine gentle shower setting.
Installing it, step by step
Pour the sand onto the surface and sweep it into the joints in several passes, working diagonally across the blocks so the broom does not simply ride along the joint lines. Compact it down as you go — a plate compactor with a protective mat is ideal on a driveway, and firm tamping works on a patio — then top up, because the joint will always settle lower than it first appears.
Aim for the joint to finish slightly below the chamfer of the block rather than flush to the top. Overfilling is what leaves residue smeared across the paving face.
Now the step everyone rushes: clear the surface completely. Sweep, then use a leaf blower held at a shallow angle to lift every last granule and every trace of dust off the block faces without disturbing the filled joints. If you can see a film of dust on the paving, you are not ready. Any binder left on the surface will set there and become a haze that is genuinely difficult to remove.
Activation: watering is a technique, not a task
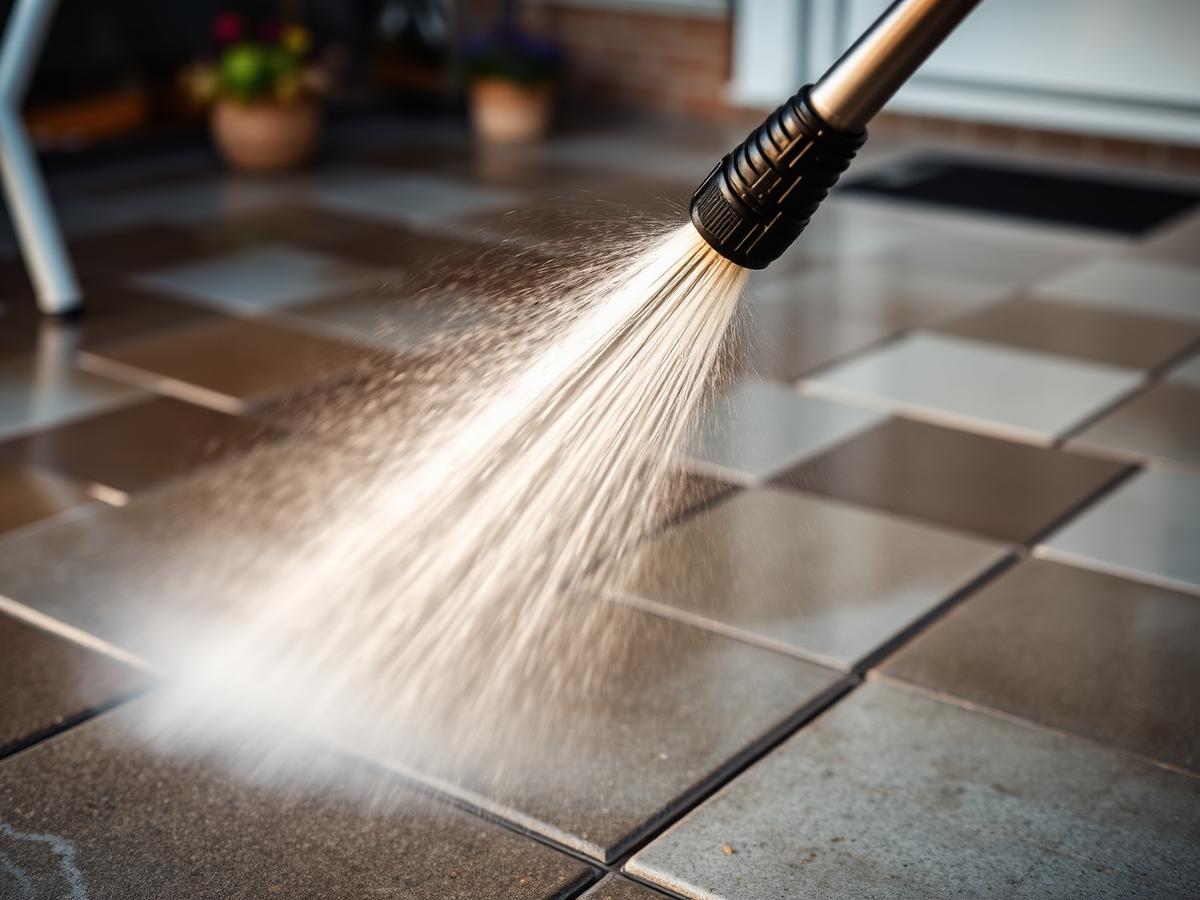
- Use a gentle shower setting, never a jet — a hard stream will blow the sand straight out of the joint.
- Water in stages as the manufacturer specifies, usually short applications with pauses between so the water penetrates rather than runs off.
- Work in manageable sections so you can water each one properly rather than trying to do the whole drive at once.
- Stop when the joints are saturated and water is no longer soaking in; standing water on the surface starts floating binder onto the blocks.
- Keep all traffic off for the full cure period stated on the bag, which is usually considerably longer than it looks like it needs.
If it goes wrong
A light haze can sometimes be reduced with a careful wash while the binder is still fresh, but once it has cured properly it is hard work and there is a real risk of damaging the joint you have just built. Prevention through obsessive surface clearing is far cheaper than the cure.
If the joints stay crumbly, it usually means either insufficient water — the binder never activated through the depth — or that the sand went into damp joints and cured unevenly. The remedy is raking out the affected joints and redoing them.
If the joints crack apart in a straight line, the paving itself is moving. That is a base or edge restraint issue and no jointing product will hold it together.
Should you use it, or stick with kiln-dried?
Kiln-dried sand remains perfectly appropriate for most level domestic drives that are maintained regularly. It is cheap, forgiving, and topping it up is a twenty-minute job.
Polymeric earns its extra cost and difficulty on sloping drives, on surfaces plagued by washout or weeds, and where you would rather do a careful job once than a small job every year. If you are not confident in getting the surface completely clear before activation, it is a reasonable thing to have done professionally.